It was a busy day at work. Worked more hours this week than any week since I started my job this past July. Consequently, working on anything art related took a backseat. I spent the first day of my two days off mostly sleeping, trying to recoup my energy while treating head congestion. Luckily, the congestion seems to be subsiding and not advancing into anything major.
Yesterday was my second day off of work, and towards evening I decided to try and work on Week 32 of Life Book 2017. I started two pages at the same time trying to mimic what Jodi Ohl was teaching. However, one of them I started having issues with peeling paint off of the page after a variety of layers. The other one was way too dark to do anything with. I tossed the one that started peeling because it just got worse and worse no matter what I did. The second one I have kept for now probably just as a reminder of what not to do.
It was too late at night to try a third so I decided to wait until morning. Before going to bed, I hear clearly to work with what I love, which I knew meant to go with watercolor. When I got up in the morning that is exactly what I did. Here is the result:
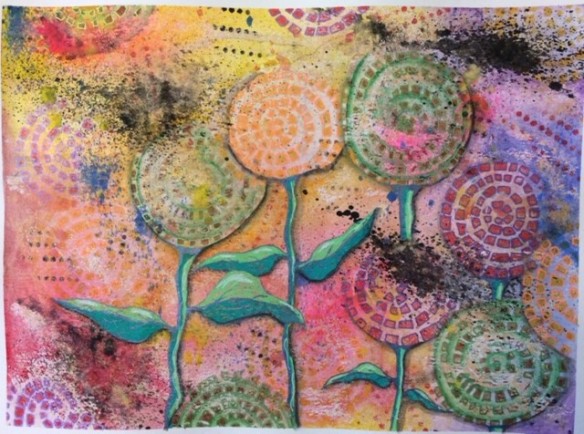
This isn’t anything like what Jodi Ohl taught but that wasn’t the point of the class. The class is called “Unveiling Yourself” which is what this piece did. The first two attempts taught me that acrylic paint isn’t my medium. It confirmed thoughts I have been having lately about acrylic paint. Acrylic paint for me is becoming a medium which I use as an enhancer so to speak. Let me explain the process I went through when I made this so maybe you will understand what I mean.
I started out with watercolor paper, taping it down to help prevent curling because I knew I would be using a lot of water at first. I wet the paper thoroughly and then added a light layer of watercolor for the background using yellow, red and blue. I let that dry.
The next layer I chose acrylic paint to use through my stencil. I chose brown, yellow orange, and red. I used another stencil to add some black dots. I used a makeup sponge and a light layer of acrylic through the stencils. Then I returned to using watercolor, yellow, purple, blue and red, to add a deeper color around the stenciled areas. Then some green in the area where I used the brown paint through the stencil. This was to bring some of them to the foreground. I let this layer dry.
The next layer I chose to use a brayer to layer on some white acrylic paint, and some gold acrylic paint. Then I chose handmade acrylic sprays, yellow, pink, red, blue, bronze and black. Each of the sprays ended up spraying differently due to their nozzles being slightly clogged. Some people don’t like when that happens but I like the randomness and unpredictability of it. In some places the black was way too much so I blotted it with a paper towel. I let this layer dry.
I stopped using paint at this point and picked up my gel pens. It is hard to see in the picture but I used green gel pen around the pattern on the brown stencil, orange around the yellow orange stencil and purple around the red stencil areas. Then added the stems and leaves with blue, teal and green gel pens. The last thing I did was use black stabilo all pencil and a wet brush to add some shadow.
I love the results I received from this process much better than the previous two attempts when using acrylic paints layered with glue for crackling effect, spackle for texture and paper collage. I had problems on one of them with the paint peeling after several layers. The other one ended up way too dark. This one looks a whole lot better in person. The only thing I might add to the process would be a couple more layers of watercolor and stencils using acrylic paint to give it more depth and interest. I, however, am thoroughly satisfied with how this one came out.
When I used acrylic paint in this process I used very light layer of paint, applying it with a makeup sponge. The issues I had with peeling was either due to too thick a layer of acrylic paint or not letting my page dry enough between layers. Or it could have been because of using glue to create the crackle effect. I will have to buy a crackle medium to see if I have any different results. The thing is I had the absolute BEST crackle effect with the glue this time. I had large crackles and I had some really small crackling. It was absolutely scrumptious. Unfortunately, it isn’t visible any more on the page I kept. At least I know now how to create such an effect or that I can do it with the Elmer’s white glue all that I used. I just might not be able to layer too much over top or I have to make sure it dries thoroughly between all the layers.
The other thing that pictures don’t show is the physical texture. Using a mixture of watercolor and acrylic paint gives that page a very pleasing surface texture than a page that is done only with acrylic paint. I didn’t use any texture paste or collage or crackle mediums on this page and yet the texture on it is like the taste of food on my tongue except it is texture on my fingers. If that makes any sense. It just feels yummy.
I will definitely be experimenting with this process in the future.
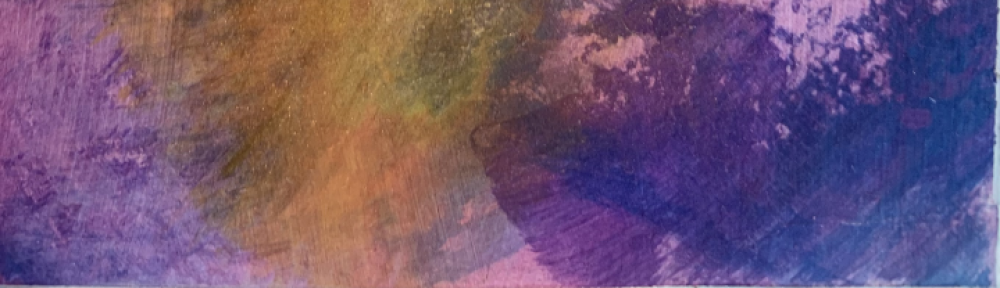
I decided to include the picture of the page I kept that was too dark. The second picture is a close up of the crackling effect I got using just Elmer’s white glue all. I might be able to save this page but I’m afraid I would end up covering up the crackling effect. Or I might use it as collage on other pages, just not sure. This page taught me a lot which I will definitely be able to use on other pages.


